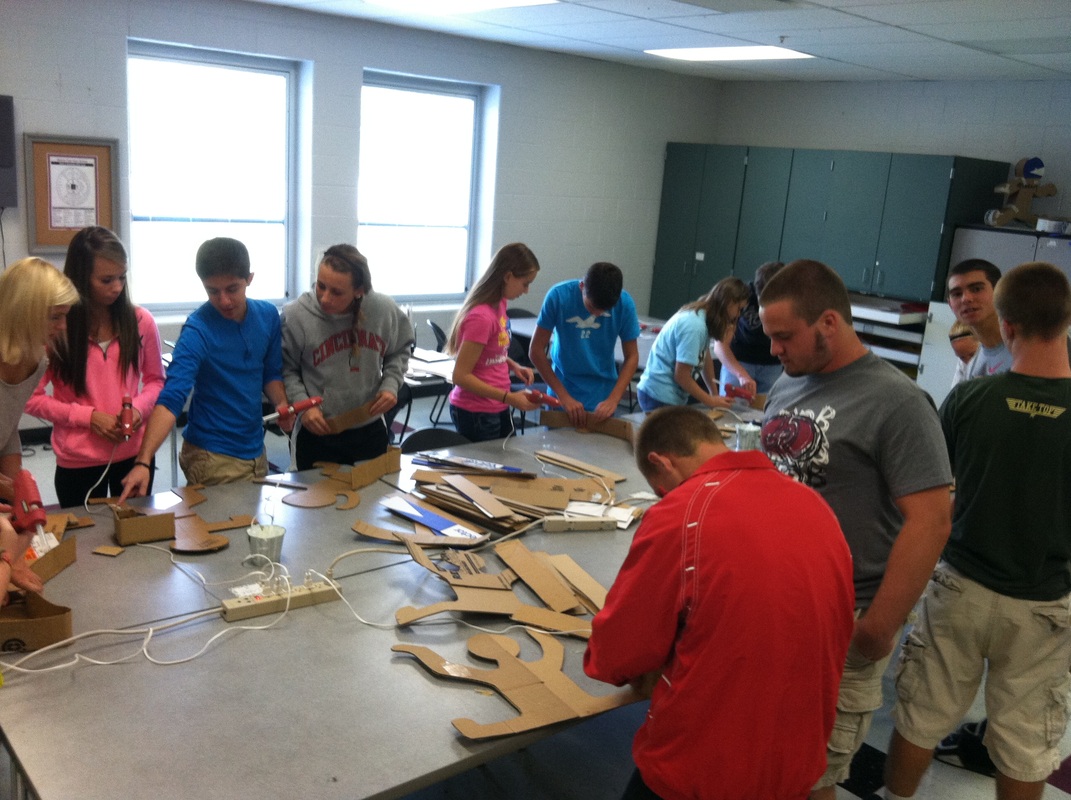
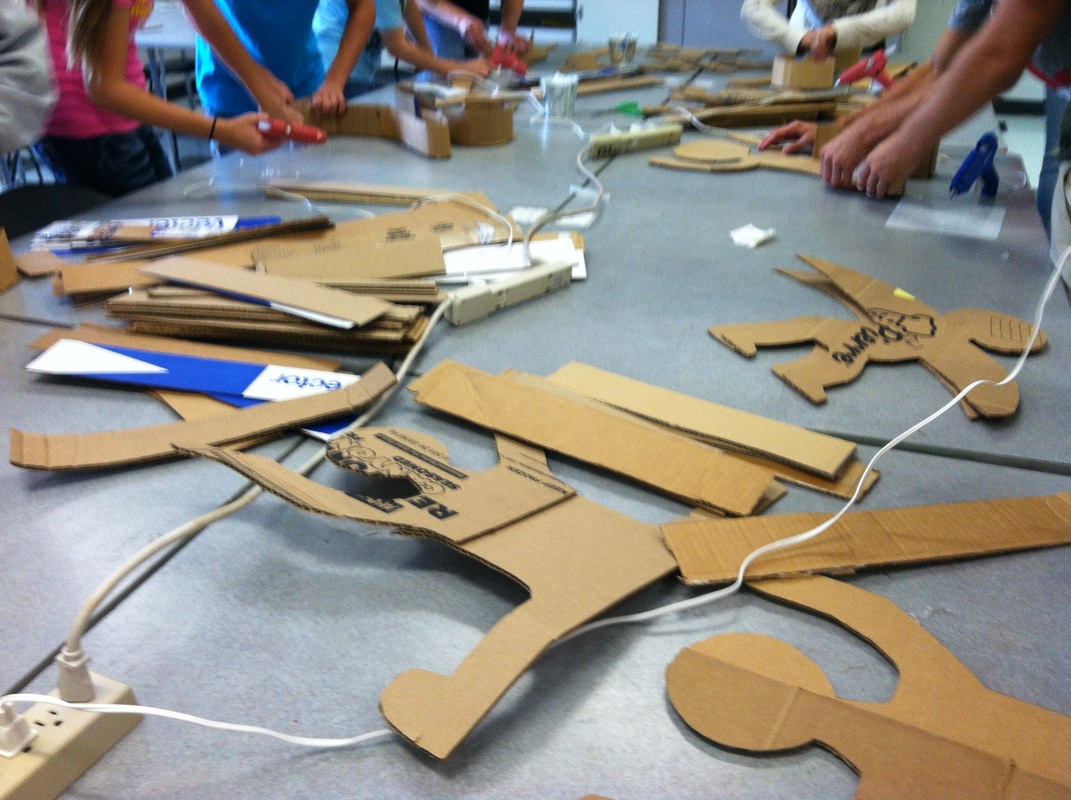
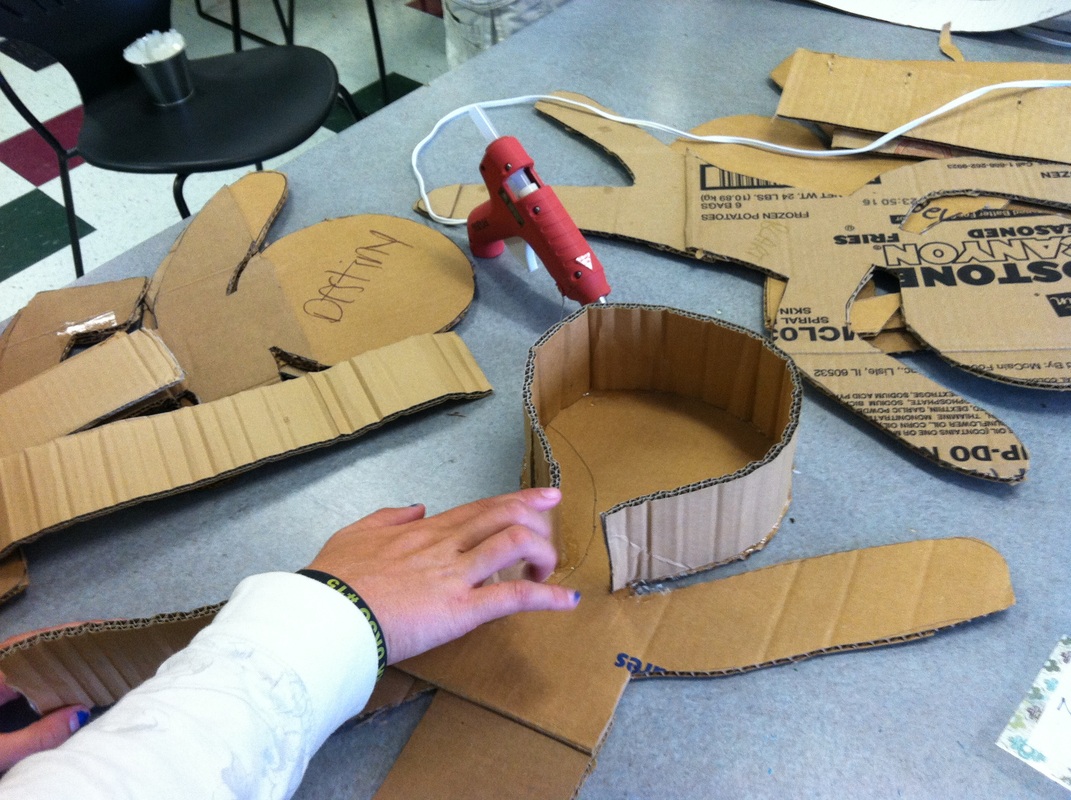
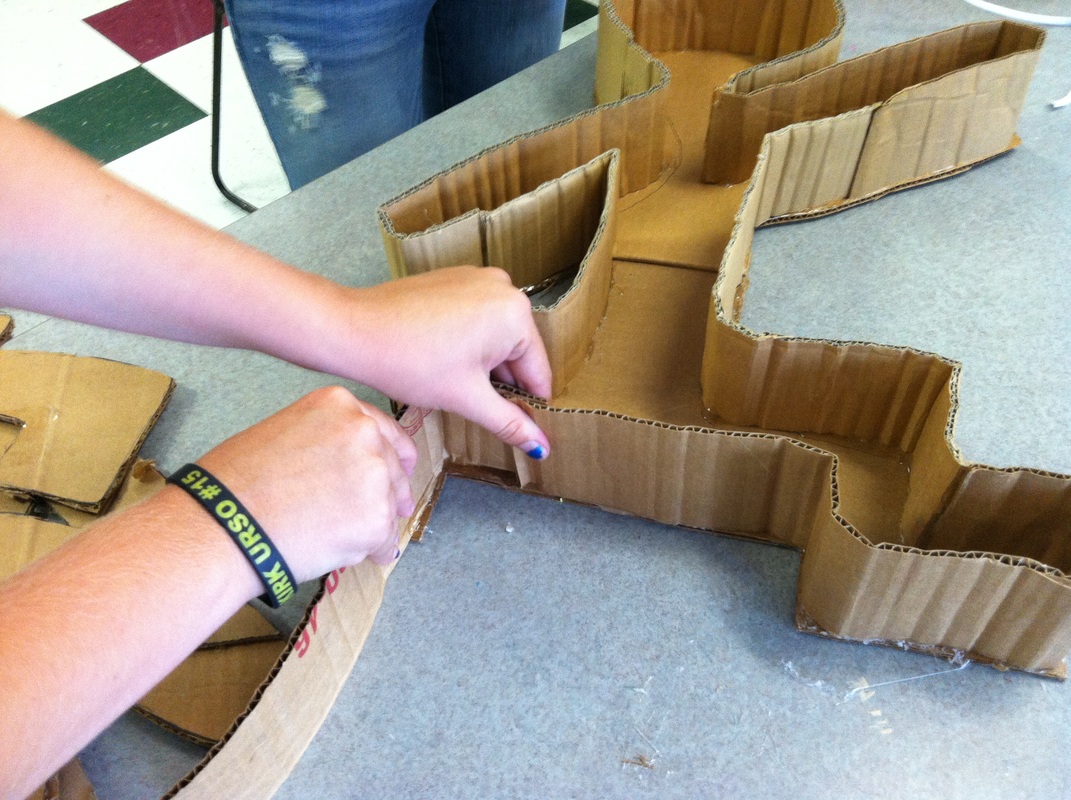
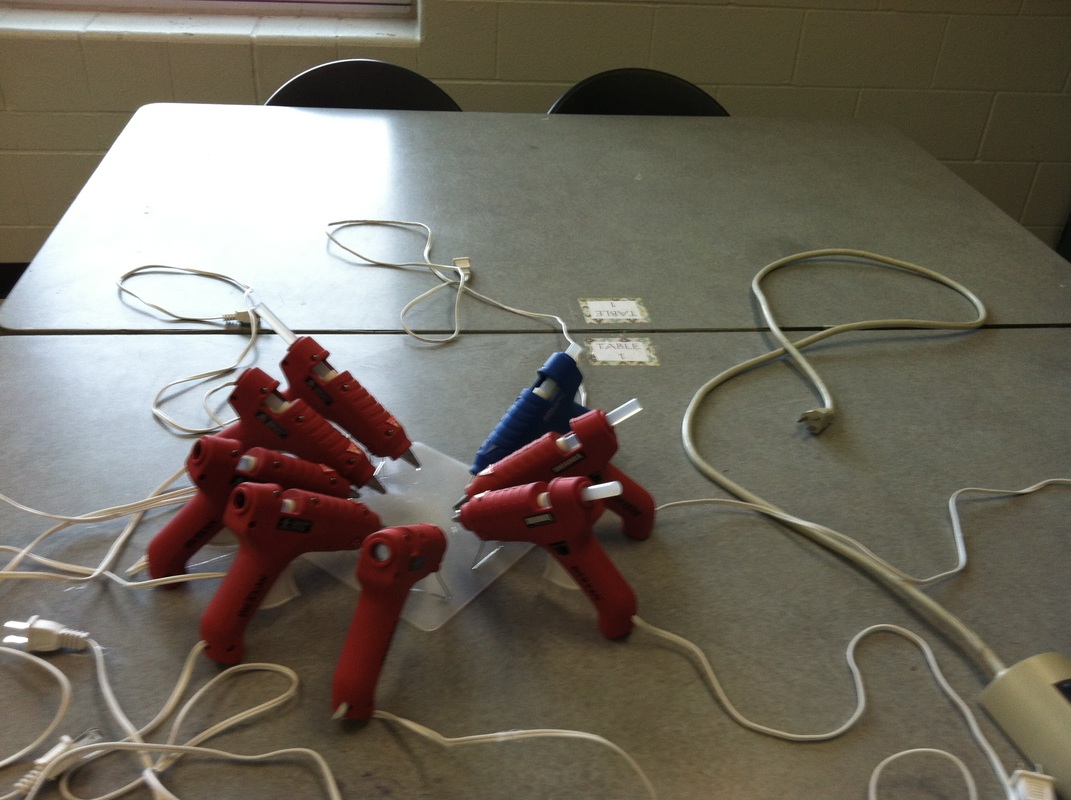
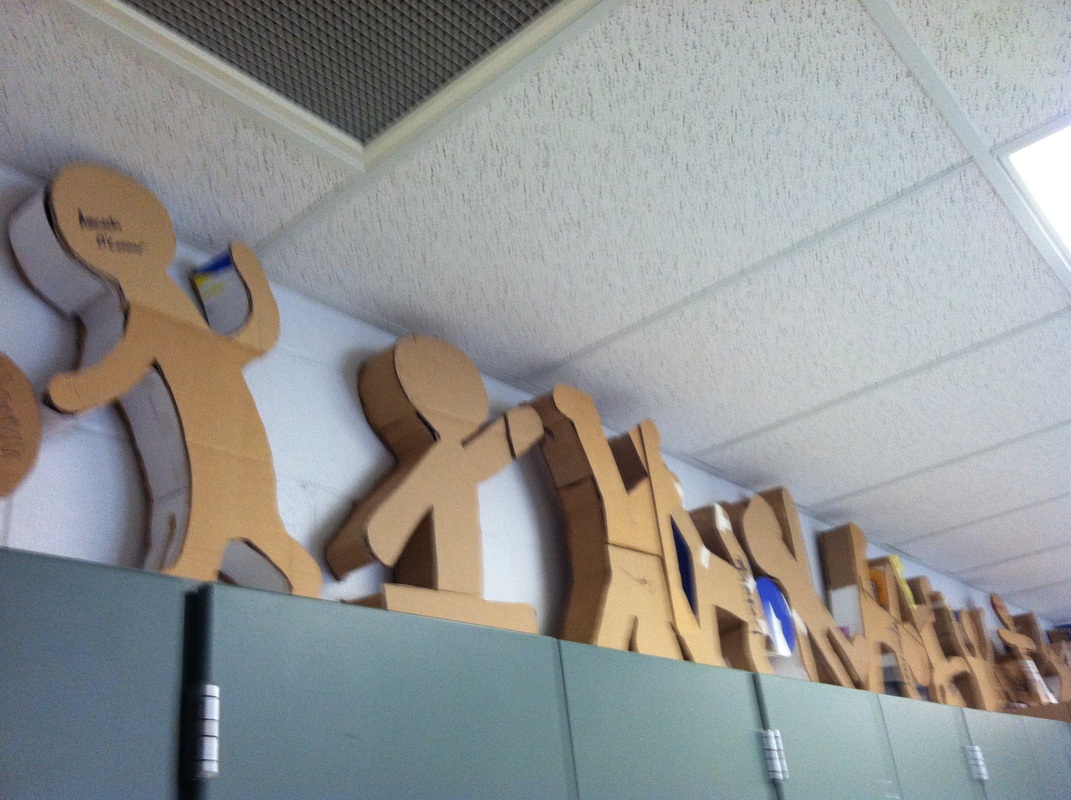
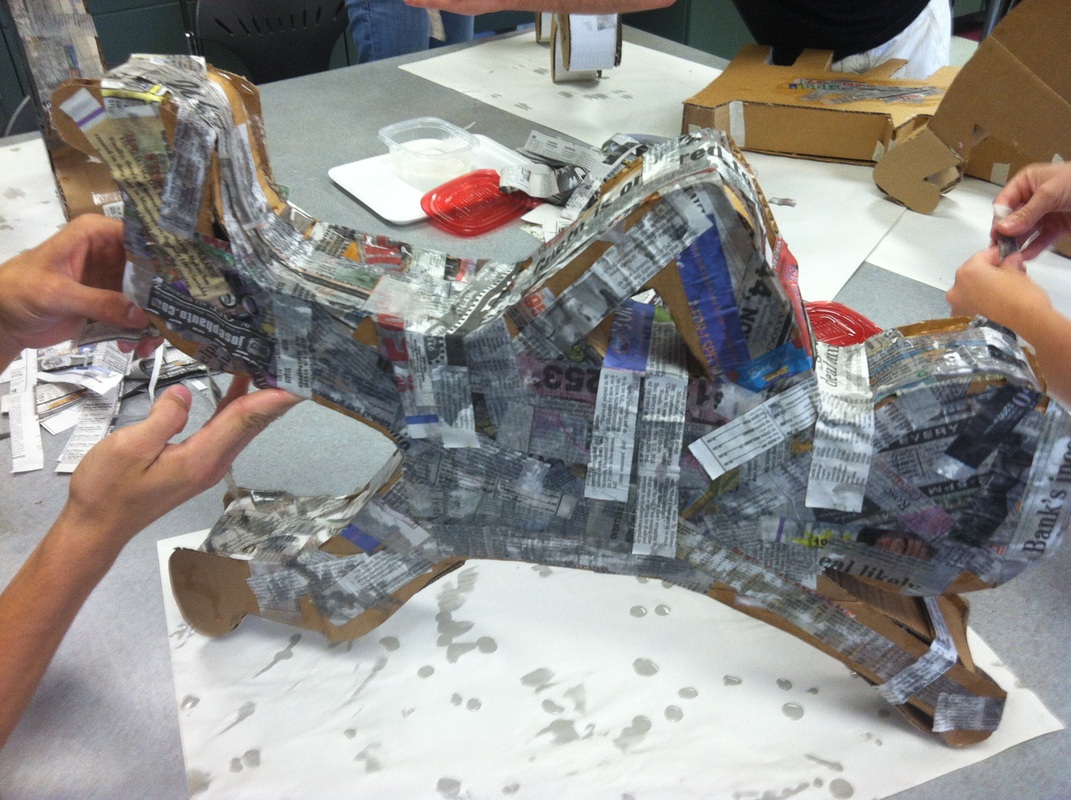
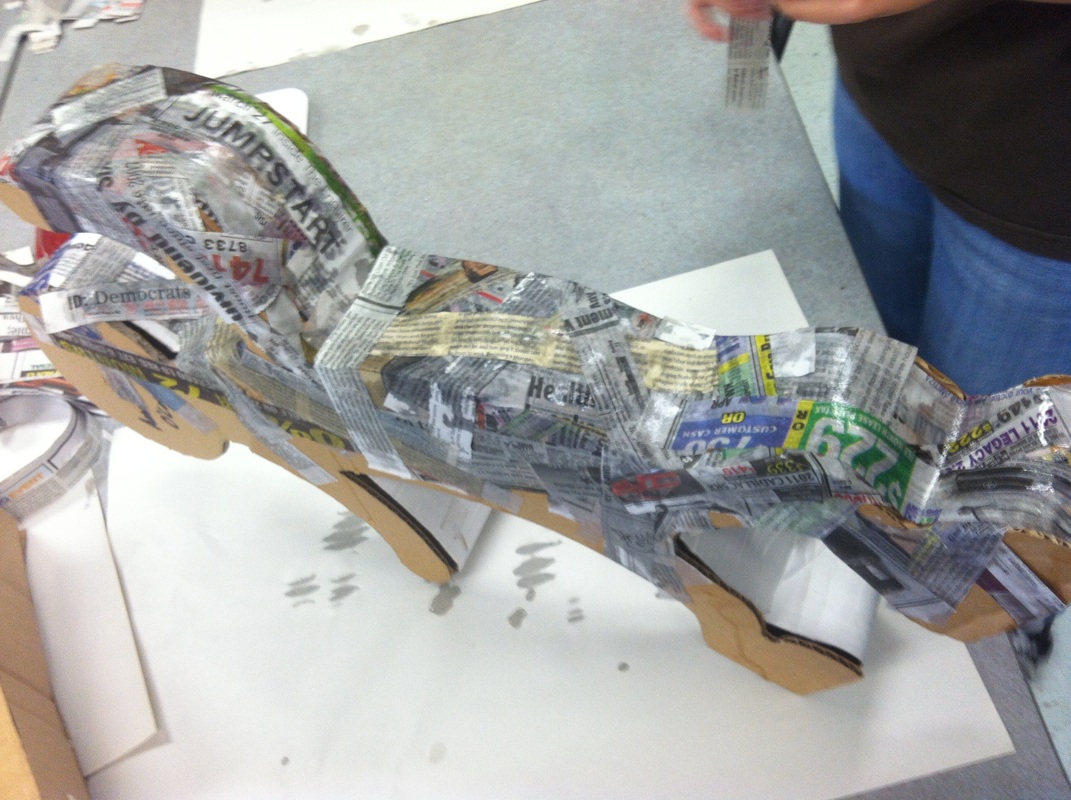
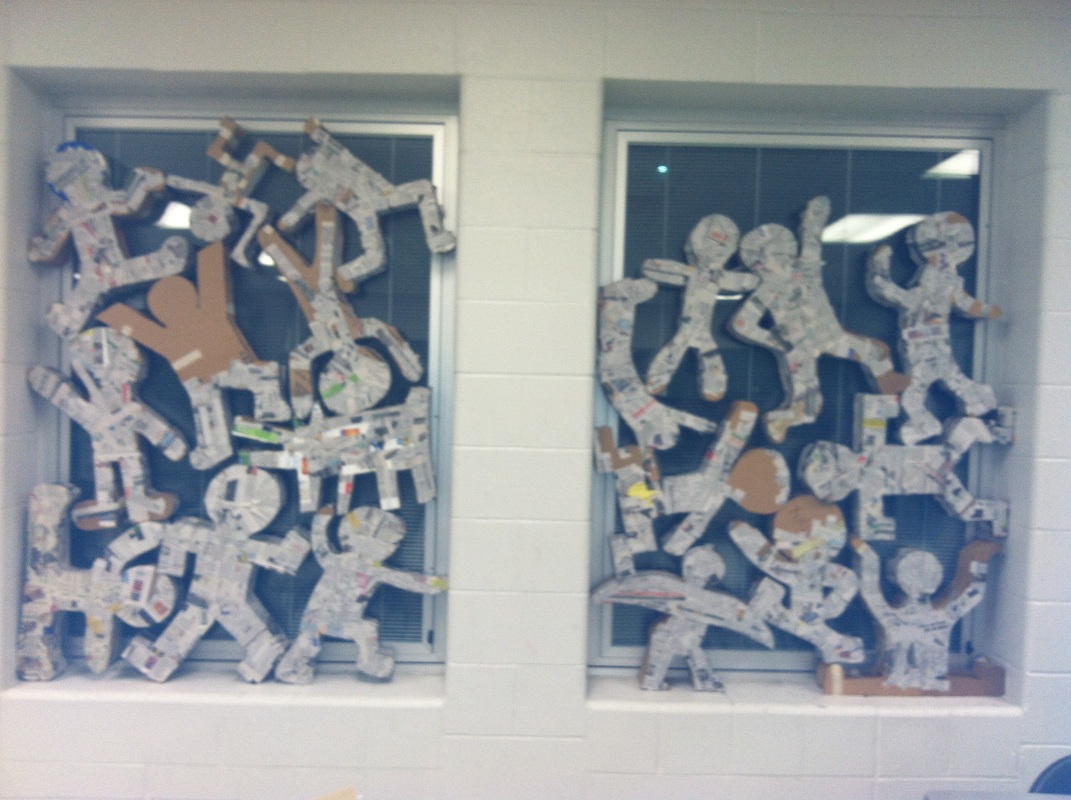
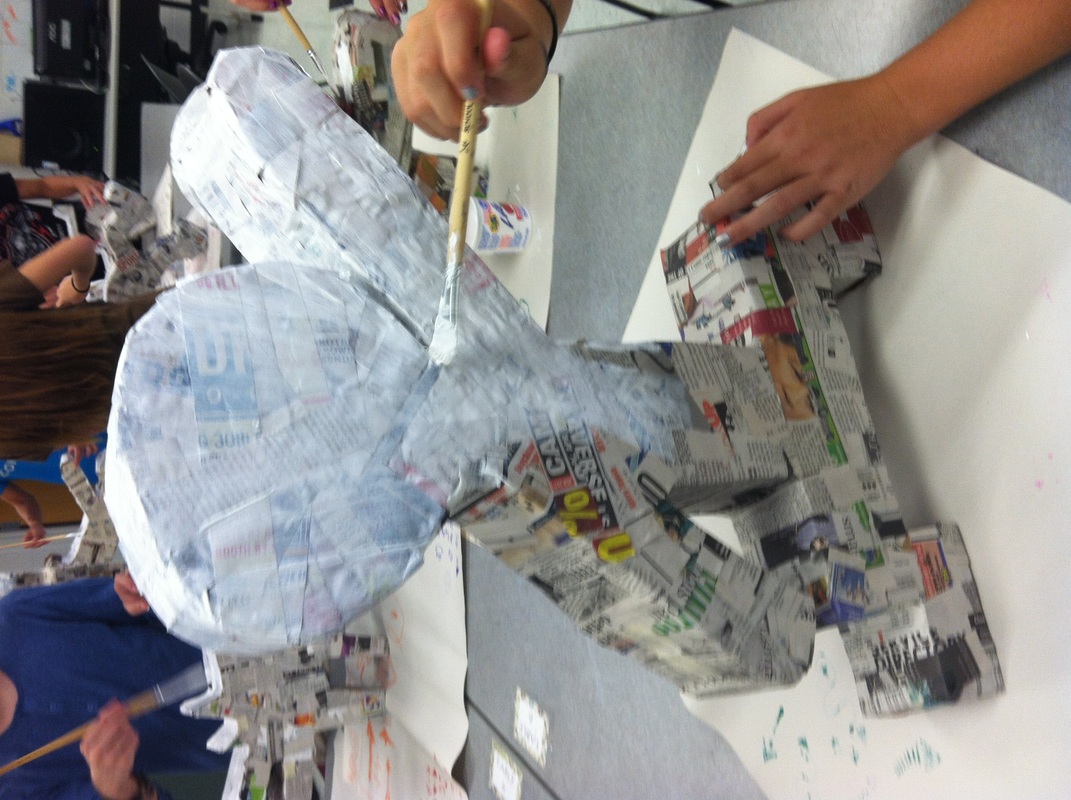
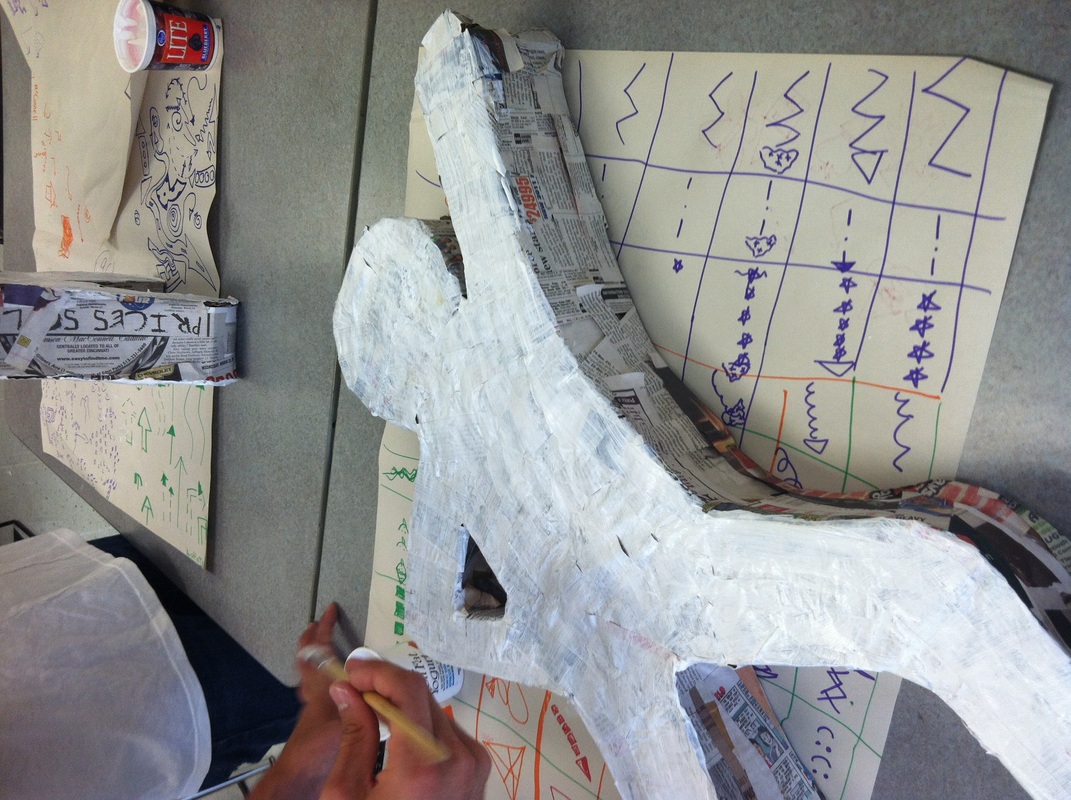
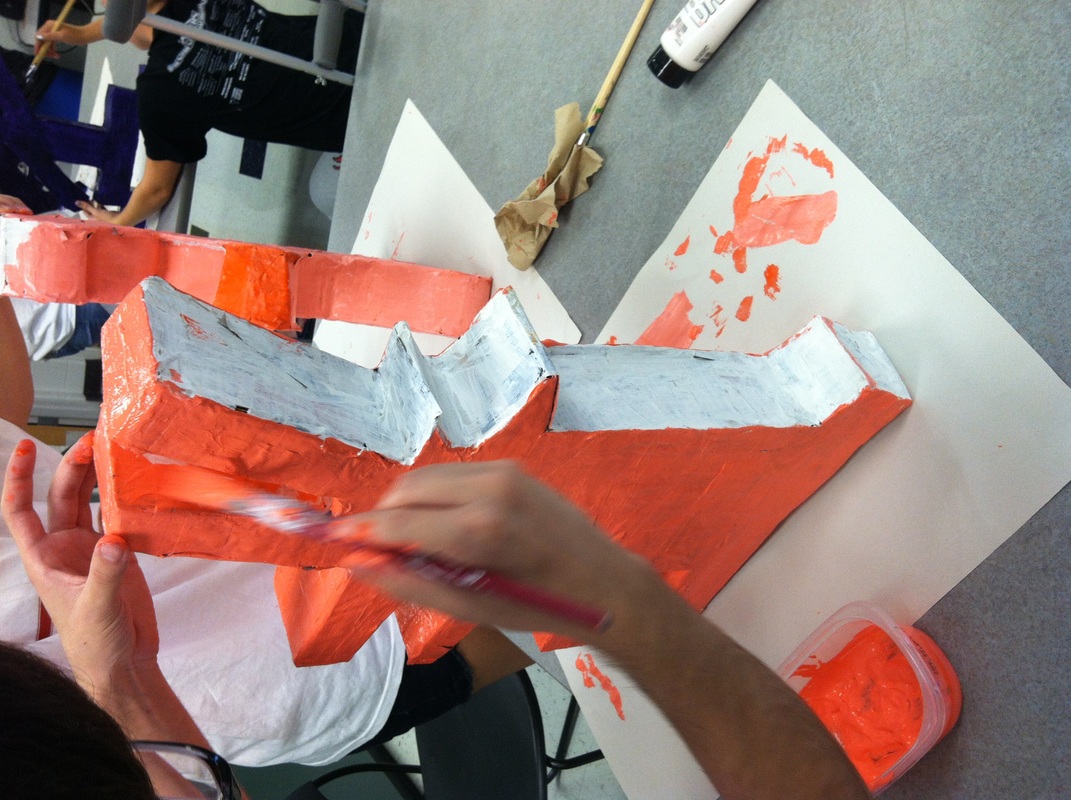
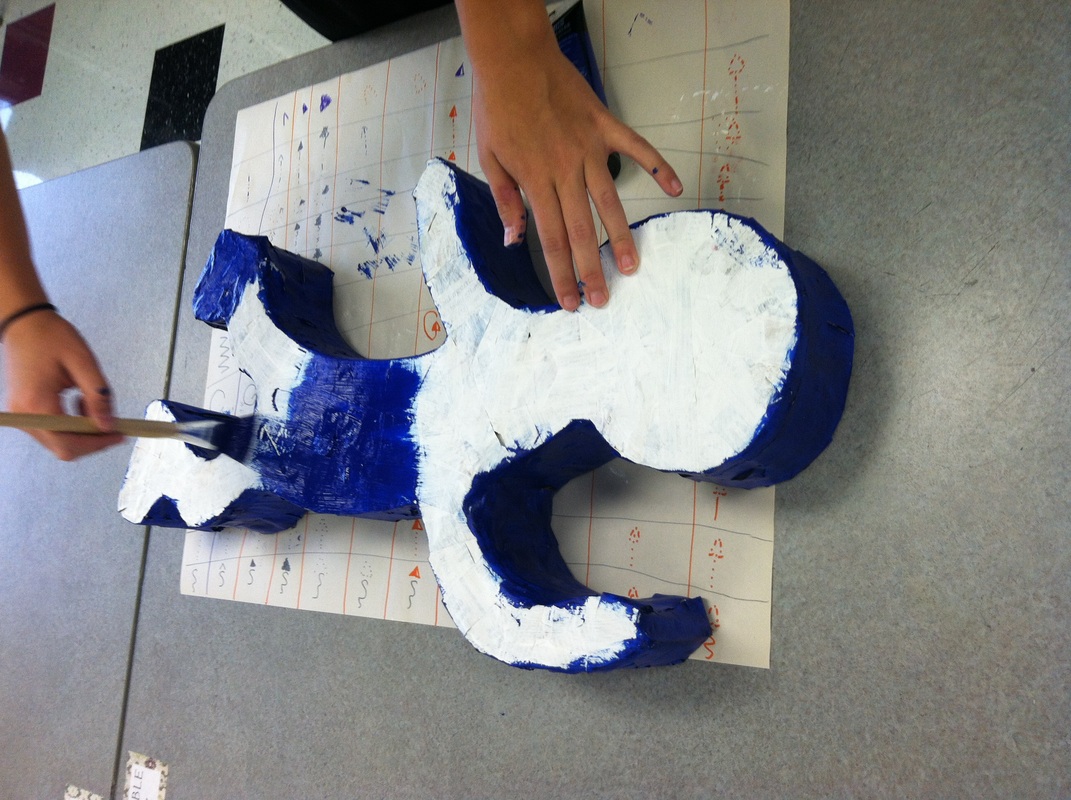
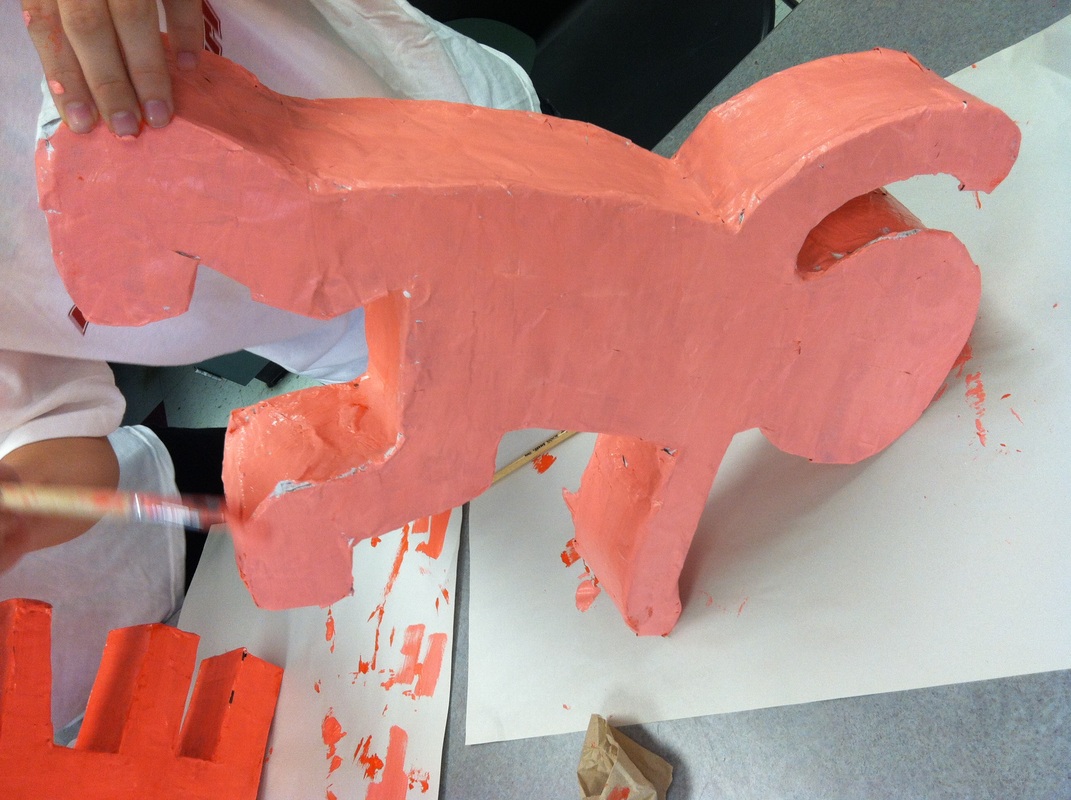
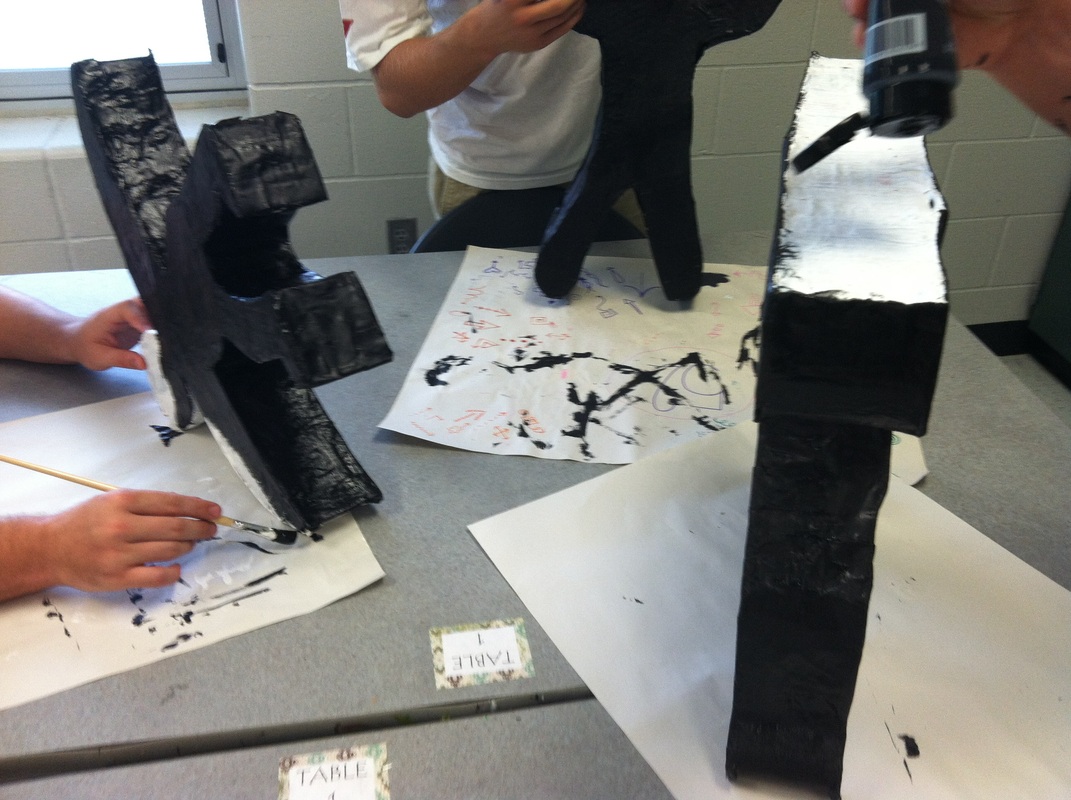
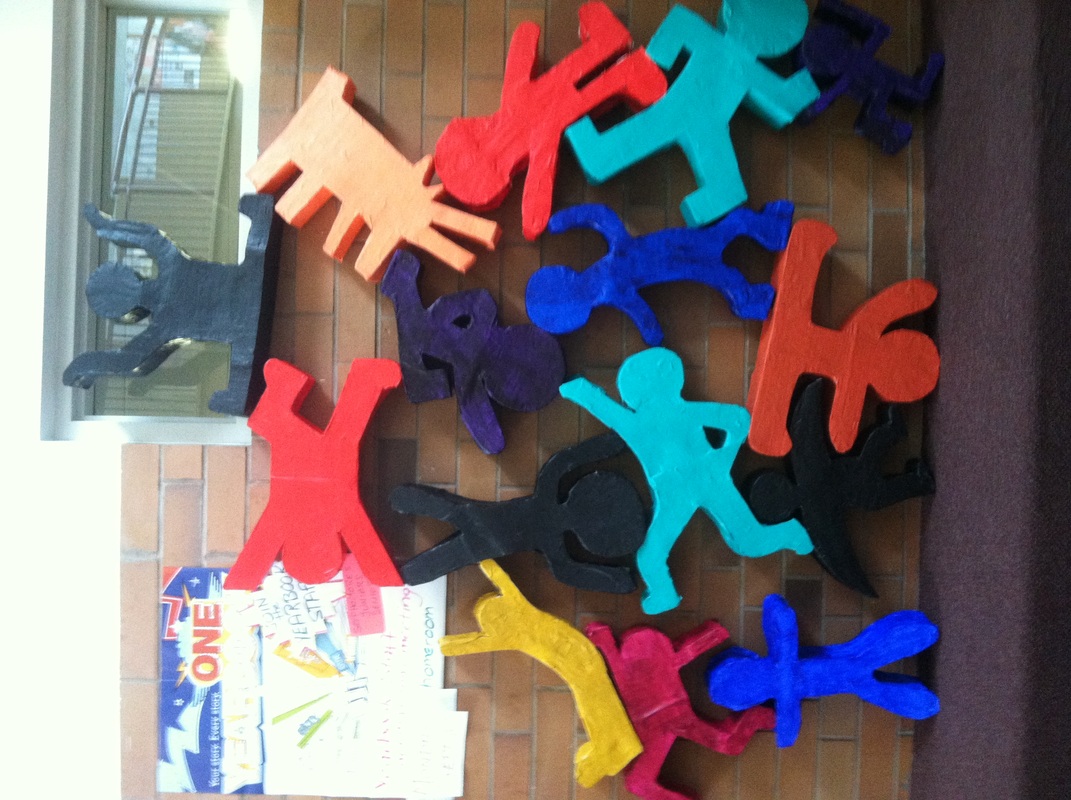
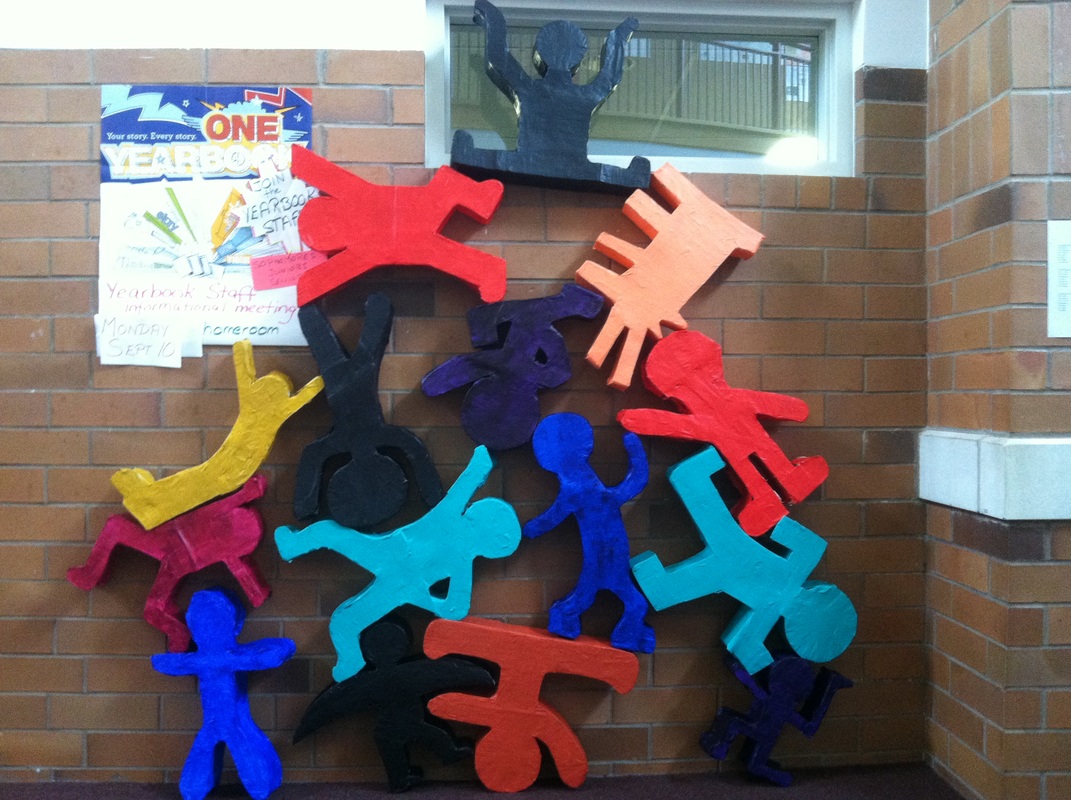
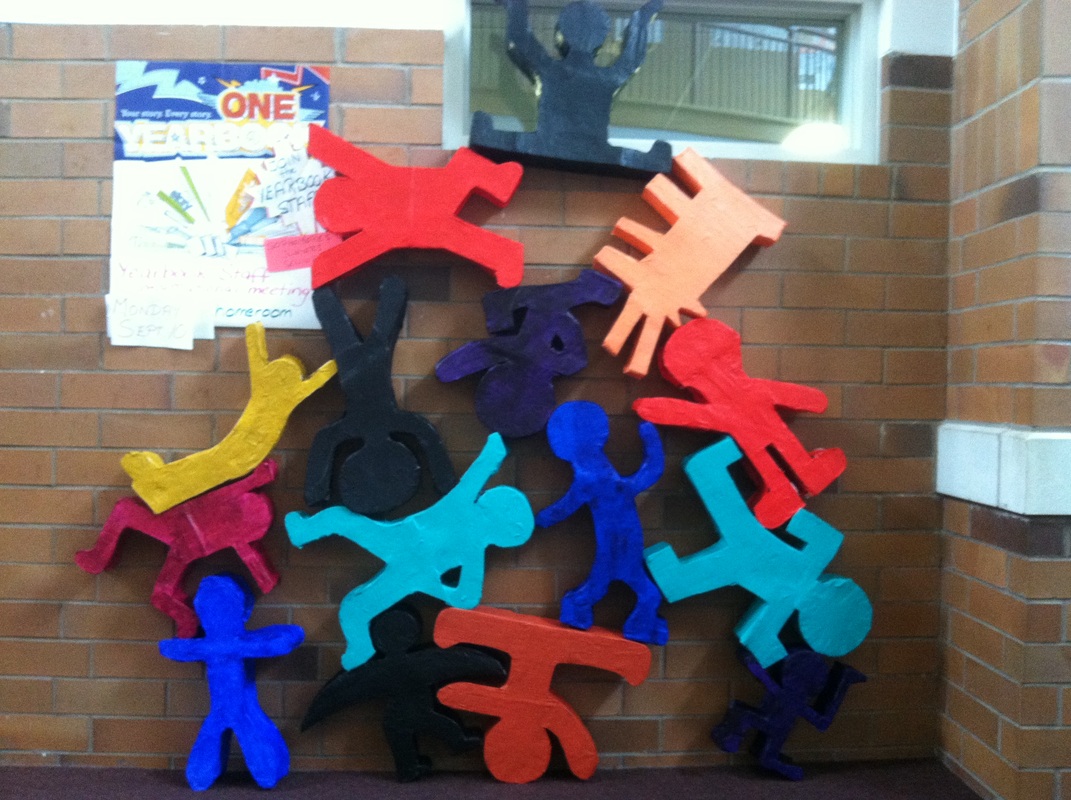
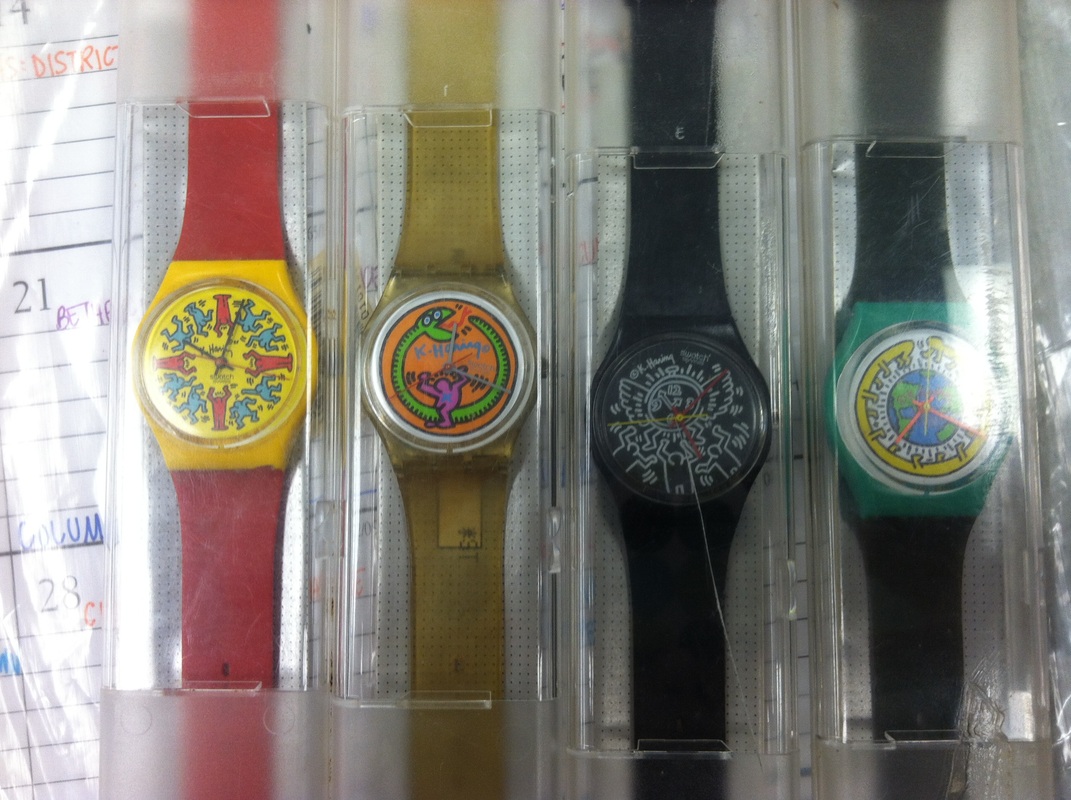
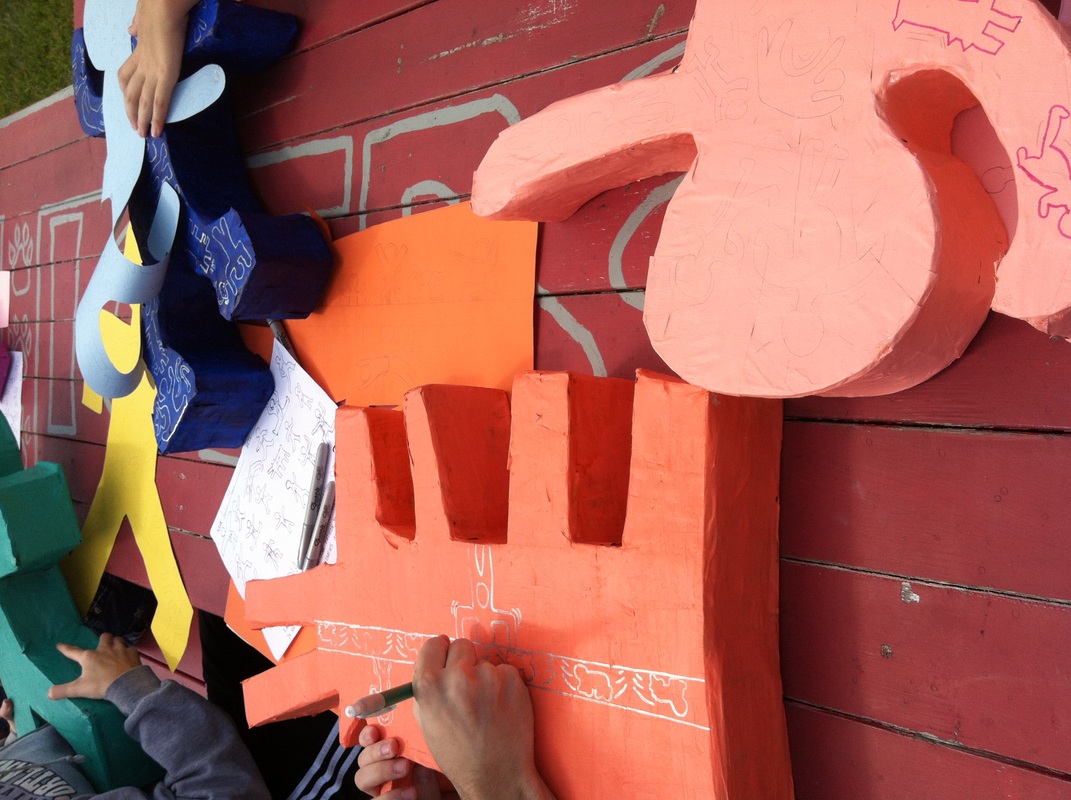
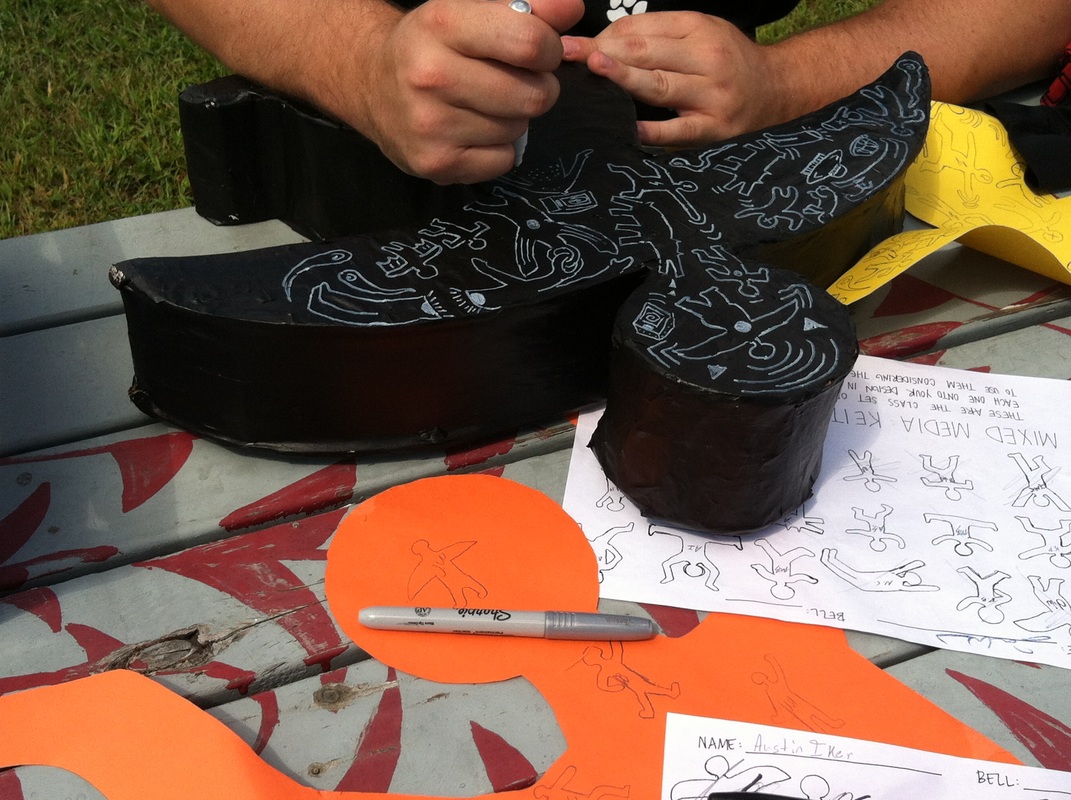
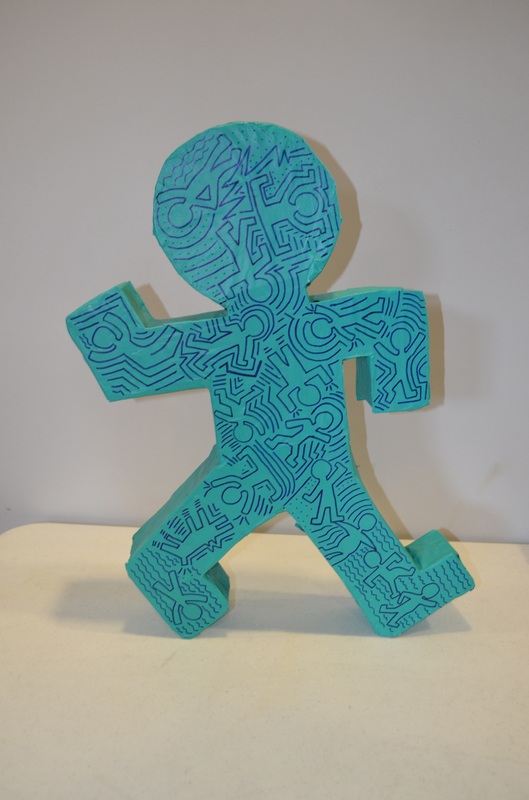
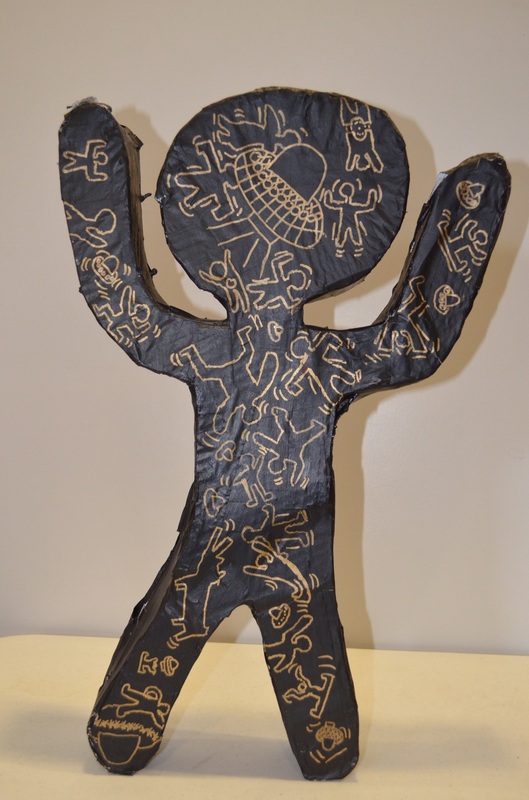
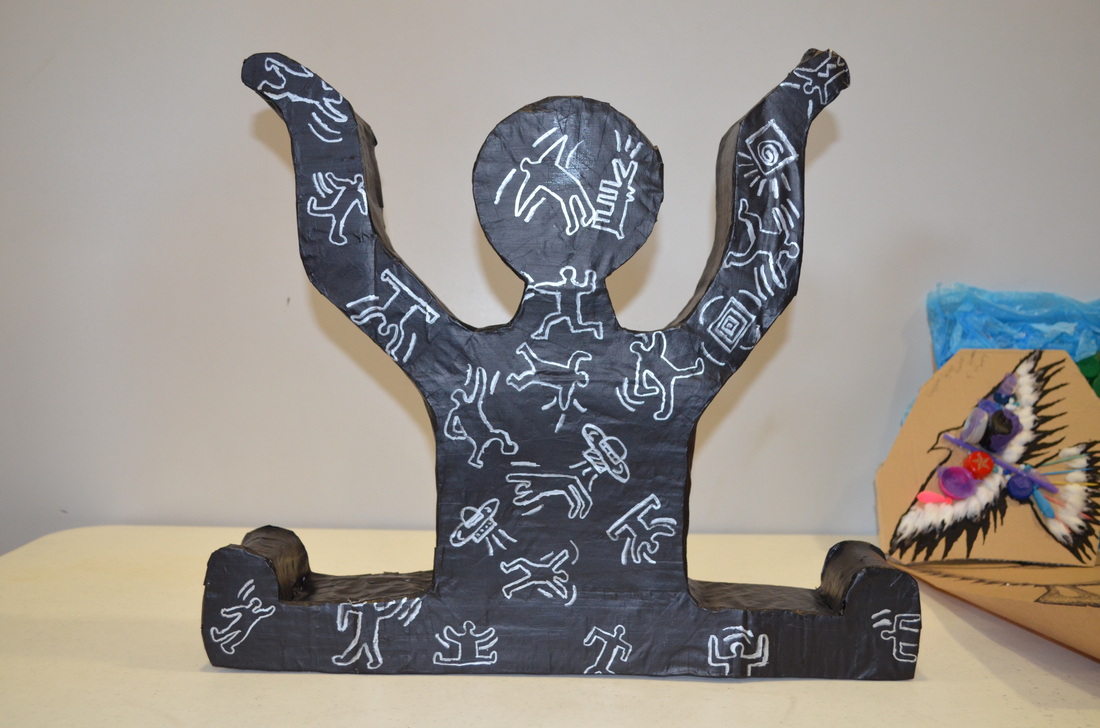
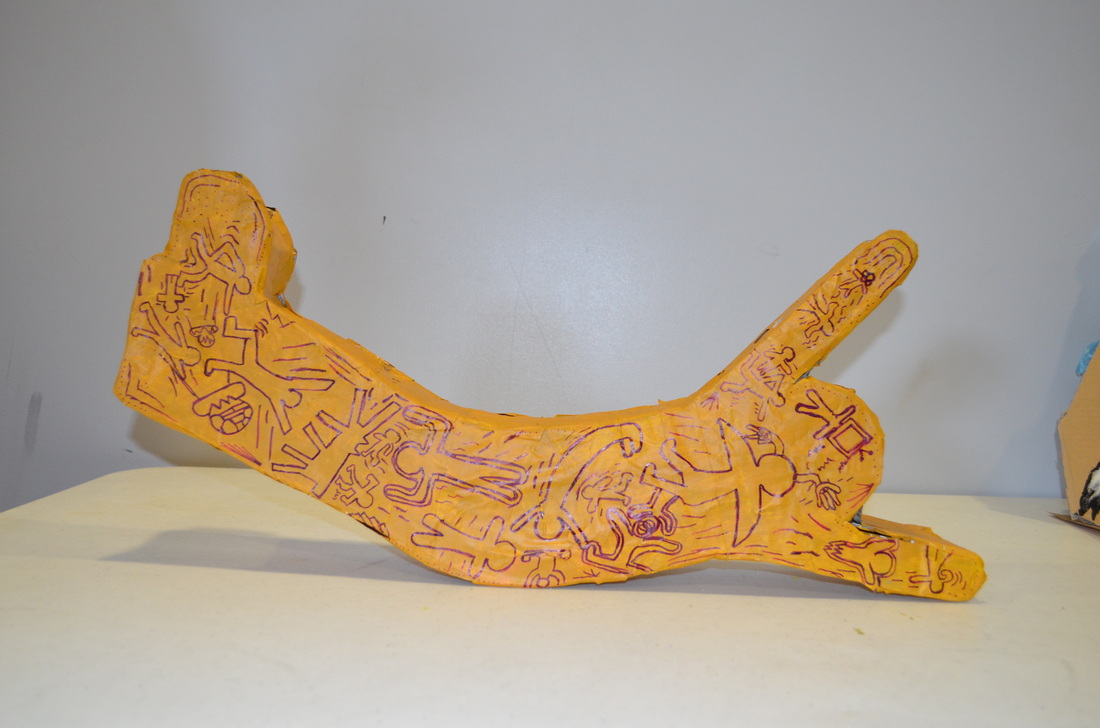
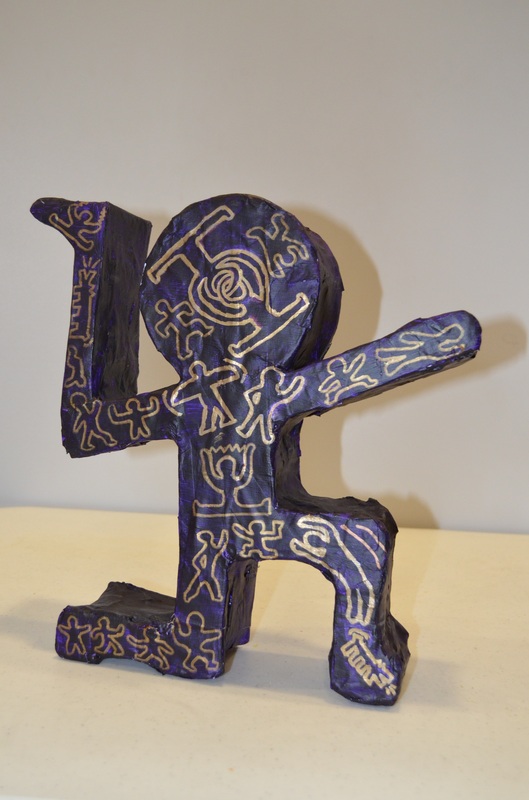
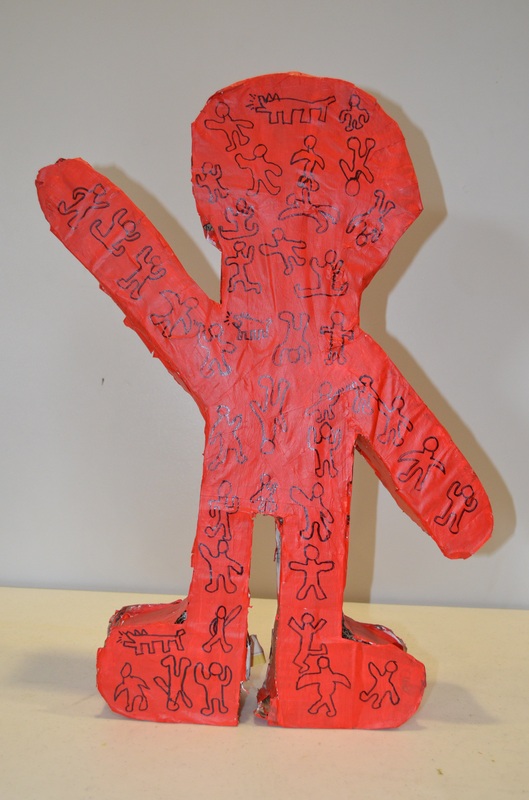
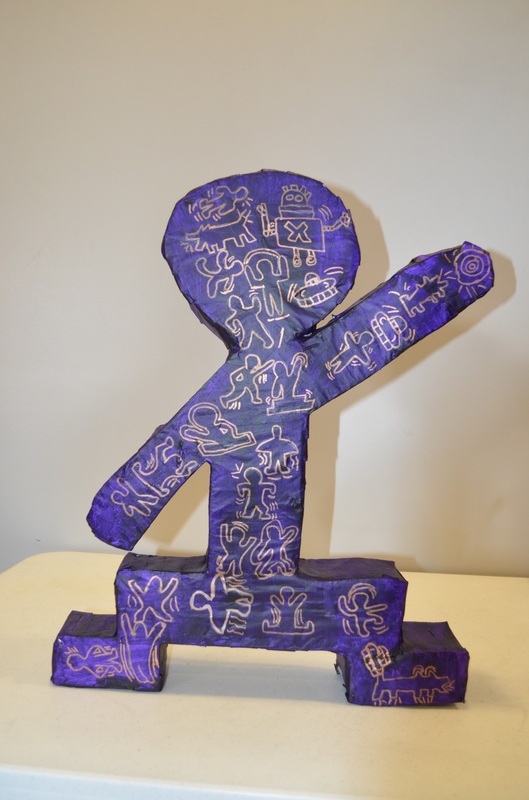
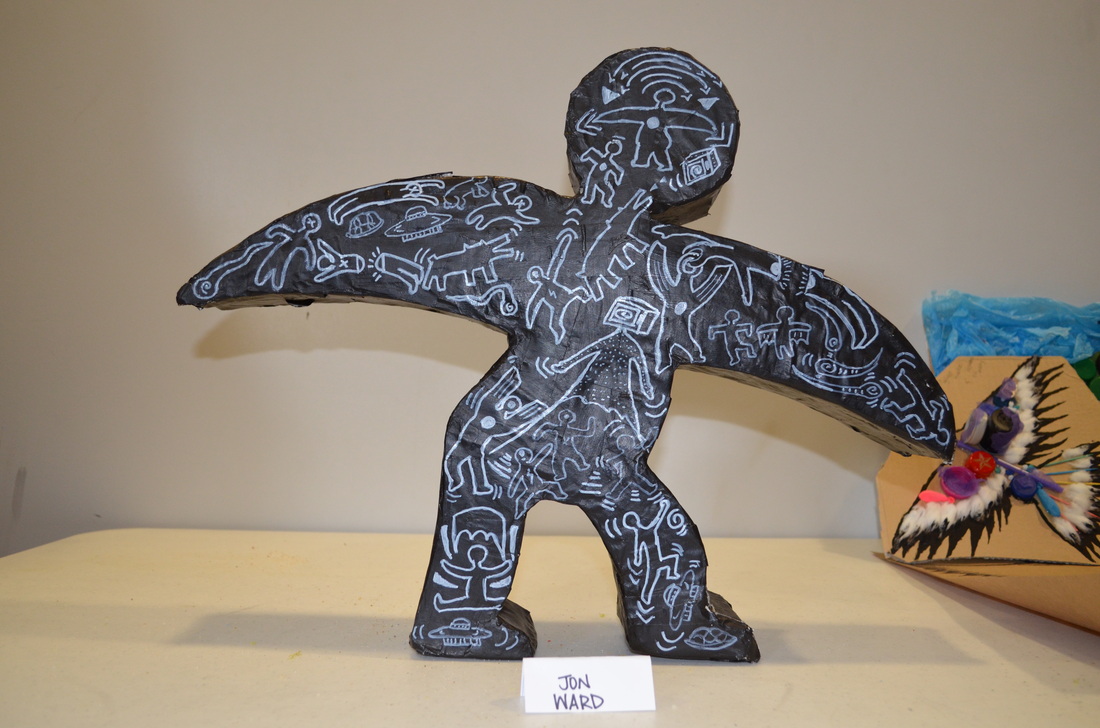
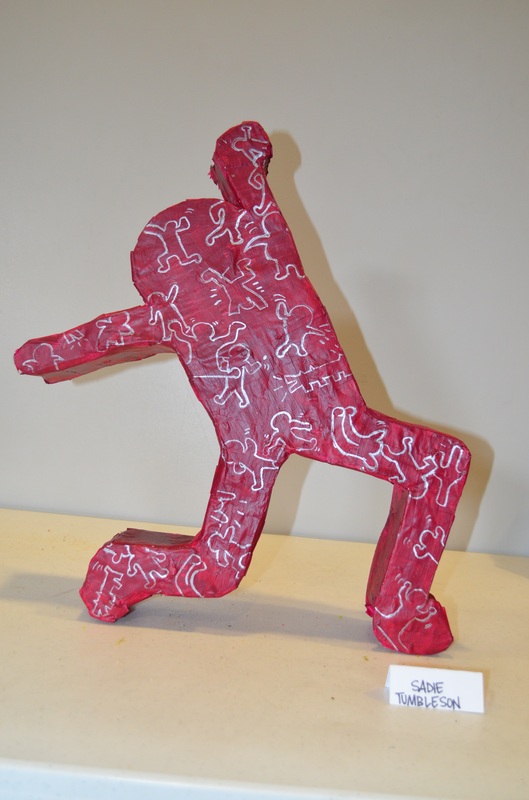
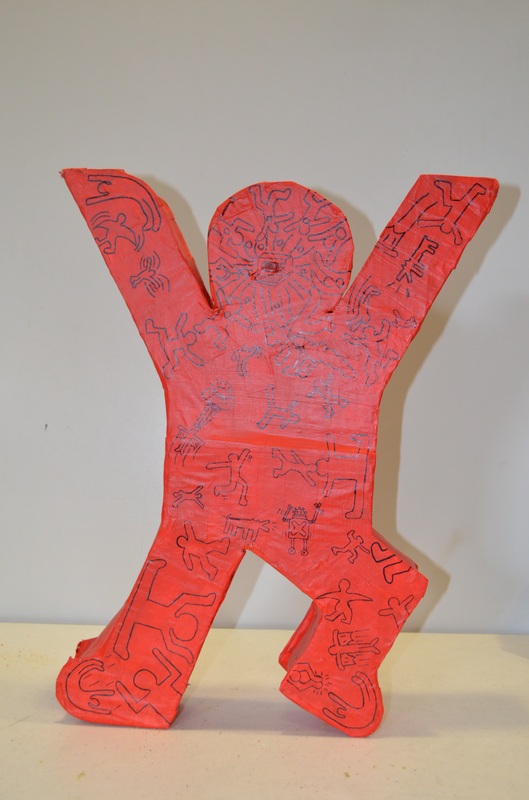
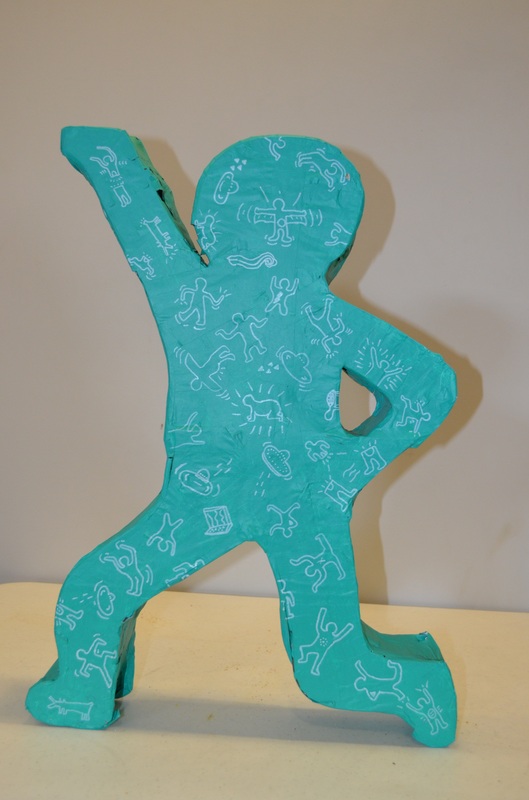
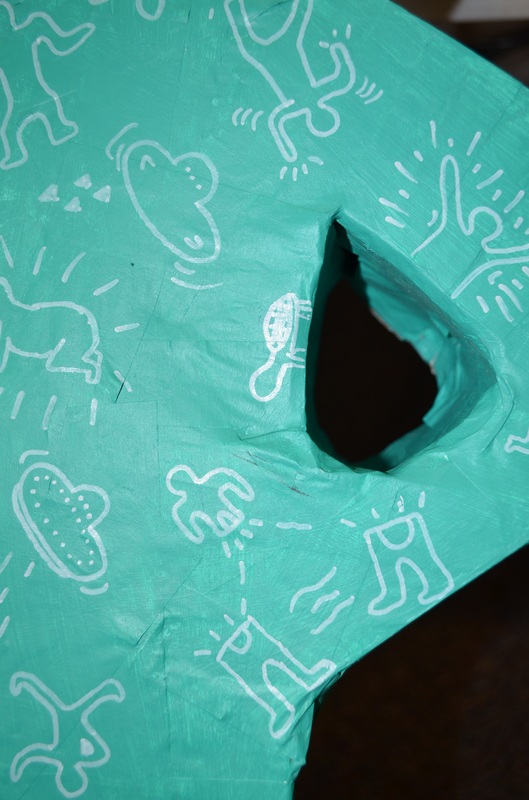
Students in Mixed Media studied pop artist Keith Haring. After research, students designed a figure in the style of the artist. The sculptures were assembled using recycled materials. The structures are made from cardboard which were glued together. After this, they were reinforced with newspaper and paper mache glue. Students chose one color to paint their sculpture.
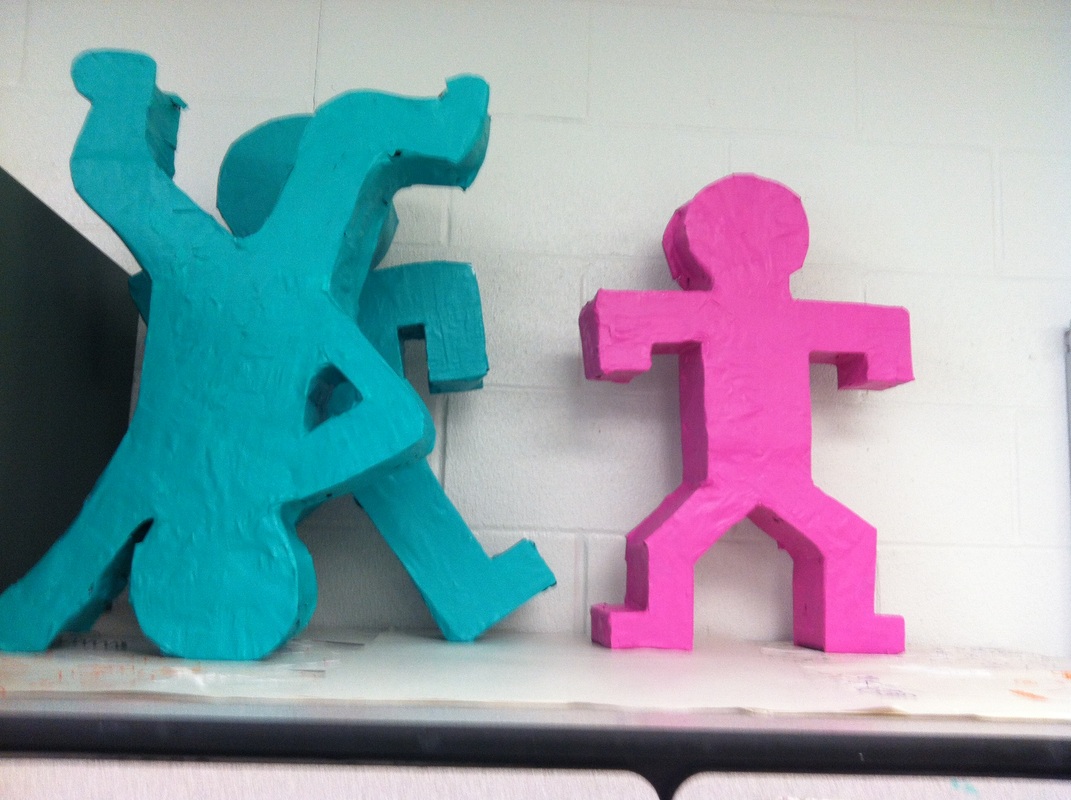
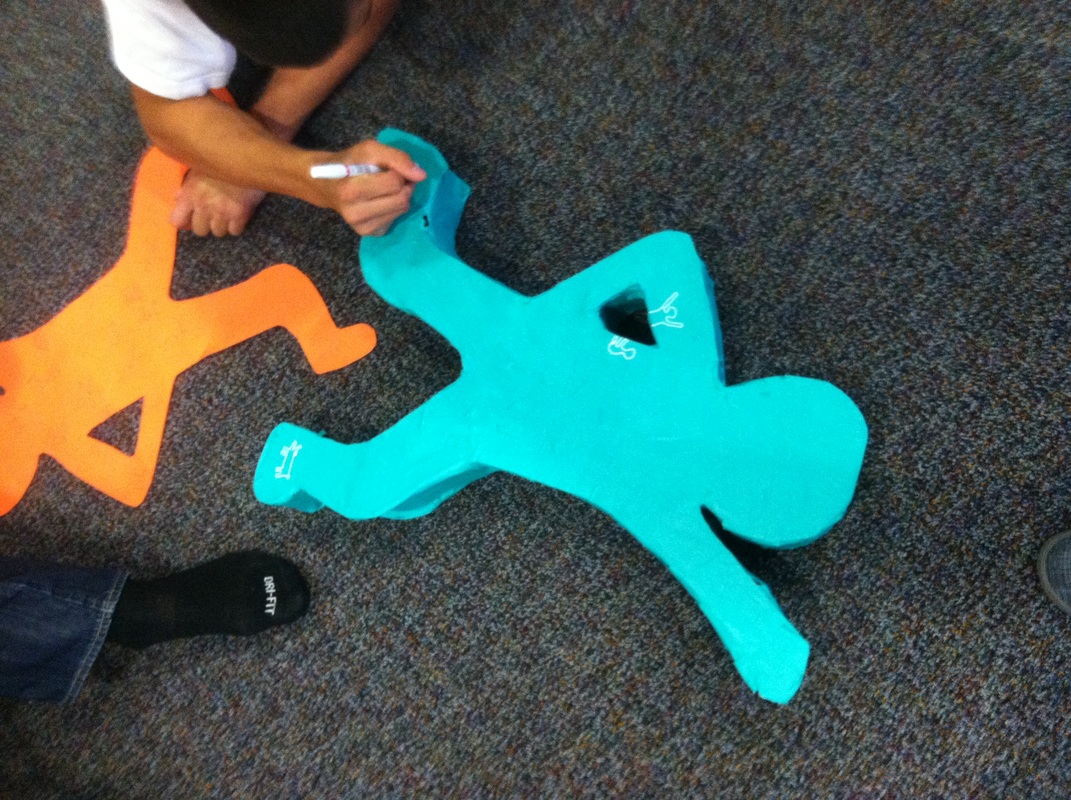
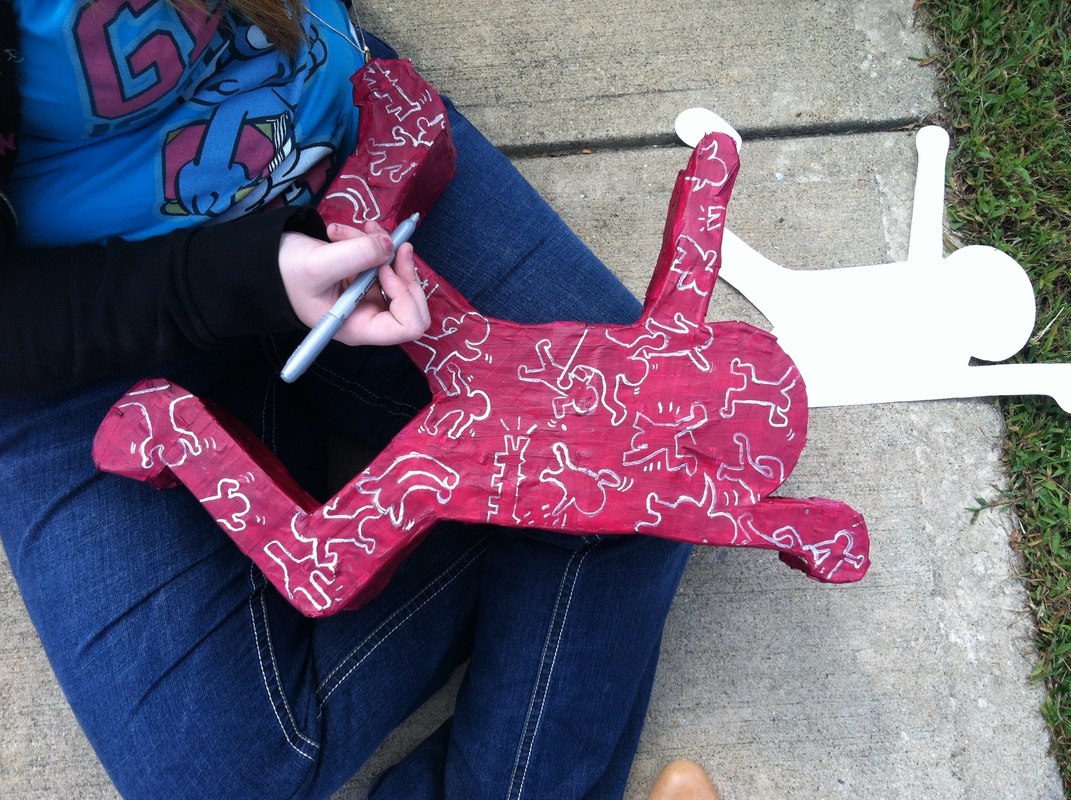
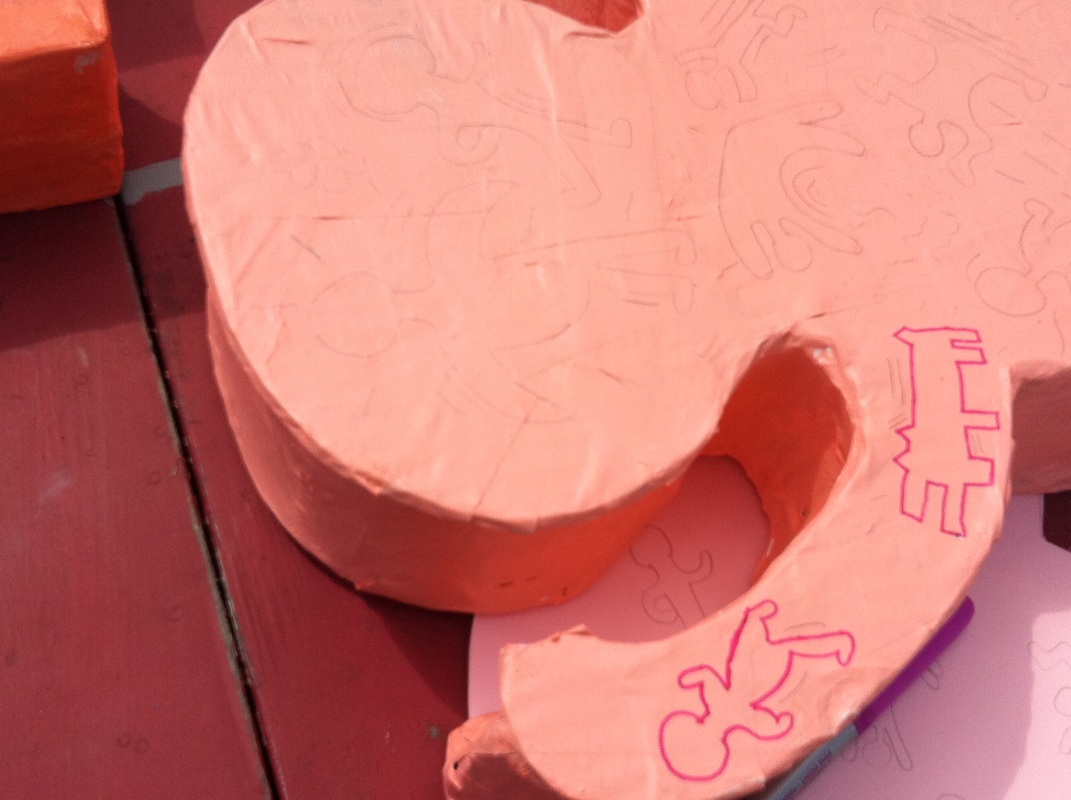
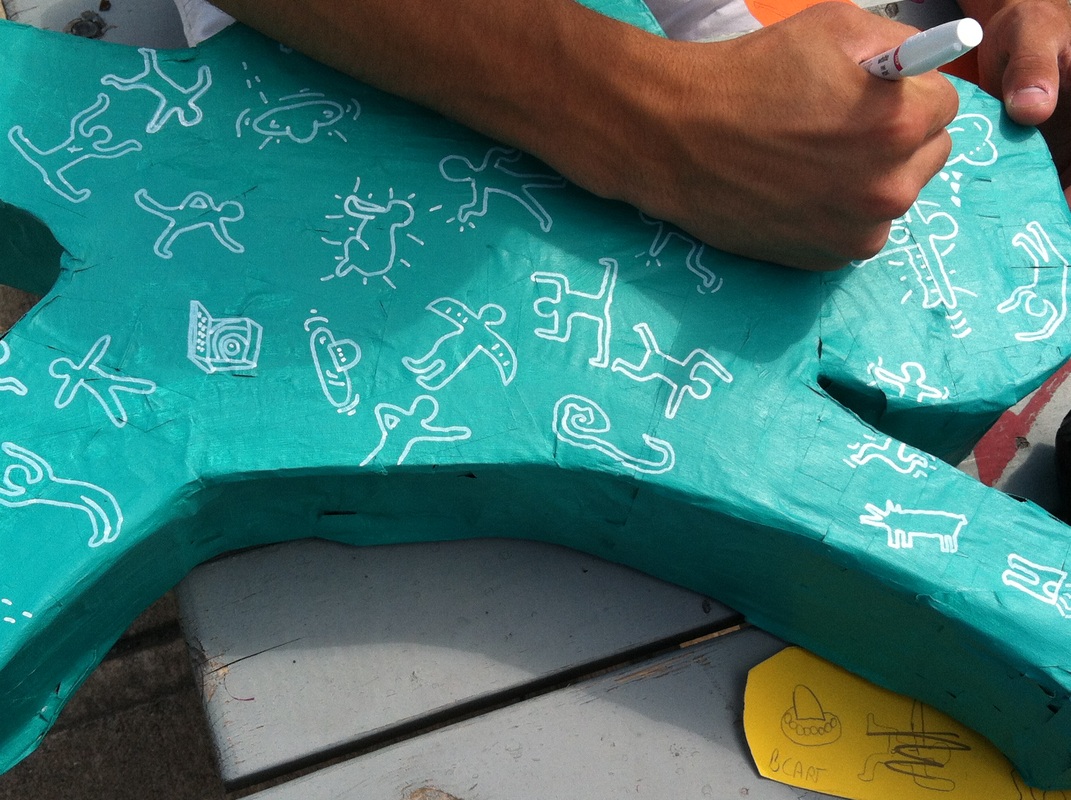
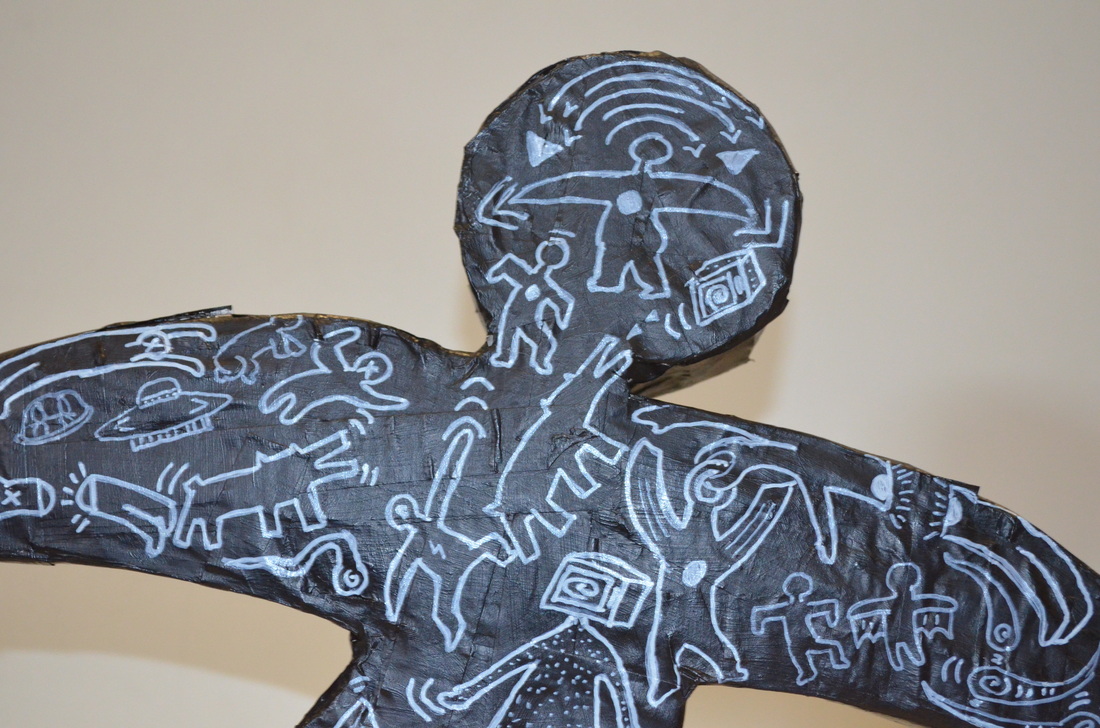
The challenge for students was to incorporate all figures from their peers. The students used one color of Sharpie to add their designs in the style of Keith Haring. Beyond their classmates figures, students were encouraged to add words, shapes and animals similar to Keith Haring.
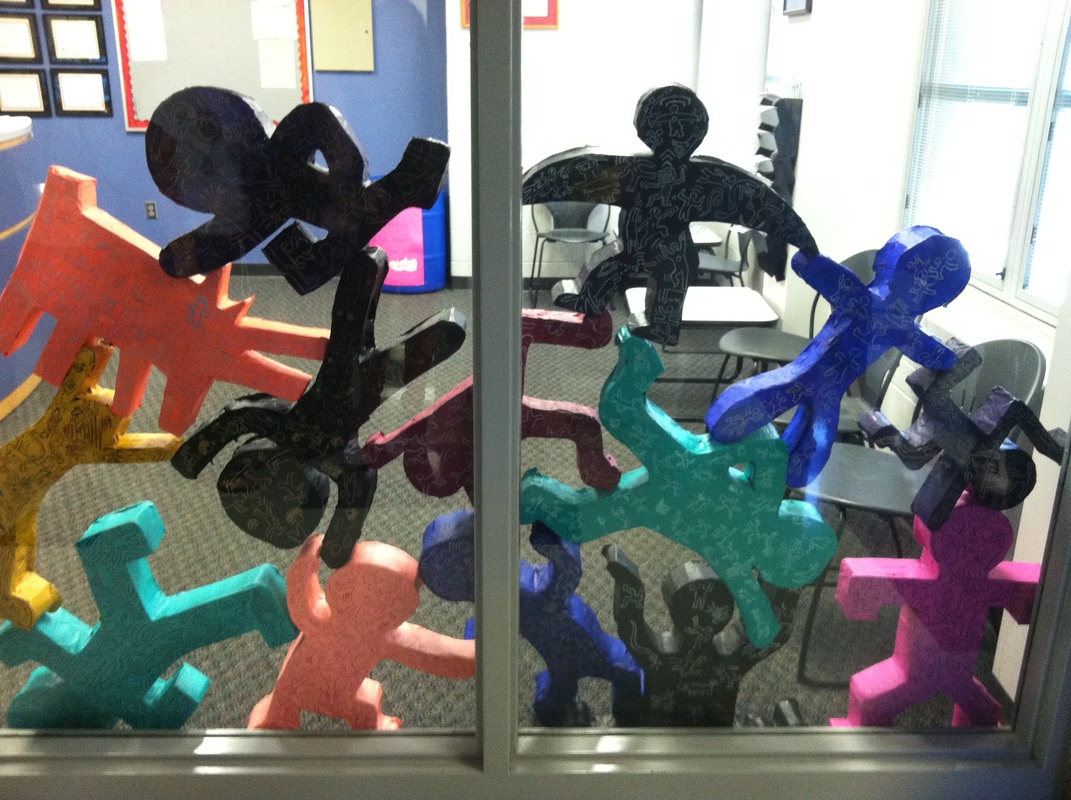
Students took their sculptures around the school until they chose a location to display them. At the end of the project, we used my demonstation sculpture as a piñata with review questions from the project!
Arty on!
Paper Mache Sculptures
Students studied Keith Haring using the Scholastic Magazines. Next, students completed sketches of figures inspired by Keith Haring. Students were given a handout with the figures from all of their classmates. The sculptures were created out of cardboard. Students chose one color to paint their sculpture and one color to draw all figures on it. A challenge to students was to include all figures from their classmates on both sides of the sculpture. Once these were all complete, students stacked their sculptures on top of one another, creating a collaborative display in the commons of the high school.
This is my first blog about 3rd grade, the reason for this is I only see them once a week and their project is very large with several different phases. They made paper mache masks with their forms beginning as a paper lunch bag stuffed with newspaper. They had two days to secure items to the mask as eyes, nose, mouth, ears, horns, etc. remembering the examples of African masks seen and the strong emphasis on symmetry. They used masking tape to adhere boxes, tape and paper towel rolls, cardboard shapes and other recycled items. The third day, they used paper mache to cover the front, top and one side of the mask. The fourth day was spent using paper mache on the other side and back (and any areas from the previous week) to cover their mask, leaving the bottom exposed with their name (and to make it easier to store these on a shelf to dry). The fifth day, the students chose one color of paint to coat their mask with. before the sixth day, we (myself and my mentor teacher) coated their masks with Mod Podge to seal and strength the masks. Days six and seven were spent embellishing their masks, beginning first with large items such as feathers, pipe cleaners, pom pom balls, foil and construction paper. Day seven included embellishments such as buttons, foam shapes, glitter and yarn. The masks turned out bright, and full of designs! This was a long but rewarding project to many students and I saw a lot of success and problem solving through the process with their masks!
Arty On!
The second graders are going hog wild over their pig project! After beginning lessons with the kindergarten and 1st graders, it was evident by the whispers in the room that the 2nd graders were also fans of Olivia the pig, so I gave them what they wanted. The first day began with Olivia Meets Olivia. I asked the students if, like Olivia, they have ever met another student with their name and how they thought they could still be an individual. This was a surprising discussion as students began to relate the experience to their new project and expanded to talk about their pigs will all begin similar but their choices and behaviors are what will make them all look different. Students began with a newspaper roll for their pig body. Reviewing paper mache processes with them was a great starting point as we used the paper mache paste to make our tissue paper stick to the newspaper. The second day was spent painting four bottle caps pink for the legs and one for the snout. After this was completed (and drying) students chose google eyes that matched, two foam shapes for ears (shapes included triangles, circles, ovals and hearts), and a curly pipecleaner tail! The legs and snout were glued on at the end of the class. The third day was spent starting with reading Olivia and the Rain Dance and students finished their flying pigs by... making them fly! They added feathers for wings and wait for them to be hung from the ceiling. The remainder of the class was spent by having students draw their pig flying!
Arty On!
The first graders have worked on their Matryoshka dolls for two weeks! The dolls stack inside of each other as we did a 3-D project with cups! The dolls were made on upside down cups and newspaper ball heads (see images) which made the dolls stack inside of each other! I was excited to see this project develop as it had many steps beginning with paper mache on each doll. The second step was to use color schemes to paint our dolls. We began with a base coat of paint with primary colors (red, yellow, blue) on the dolls, each having one color. Next, the students painted with secondary colors (orange, green, purple) adding lines, shapes and patterns using paint brushes and q-tips for details. The students choose neutral tones for the faces (tan, brown) and then the dolls were all covered in Mod Podge to strengthen and coat the surface. The last step was to add embellishments for faces including matching eyes and cheeks of buttons and foam shapes with a pipe cleaner smile! These dolls turned out wonderful and the students loved stacking them and creating roles for the dolls (usually family roles such as kids, siblings and parents) which was an interesting development to witness also!
Arty On!
As I began working with the 1st grade students, they were in the process of a 3-D project, using a water bottle with a newspaper ball for the head which they covered in paper mache. The bodies were painted black and the belly was white. This was when I began to work with the students on the project. Next, we added faces to the penguins and talked about finding google eyes that matched in shape, color and size. The noses were added by the teachers with hot glue and pom pom balls were added along with a pipe cleaner for earmuffs! If this wasn't cute enough, they each got to choose a fabric scarf to tie around the neck. The final detail was adding wings using black construction paper.
Arty On!


 RSS Feed